Configuring a Raspberry Pi Image for the Neato
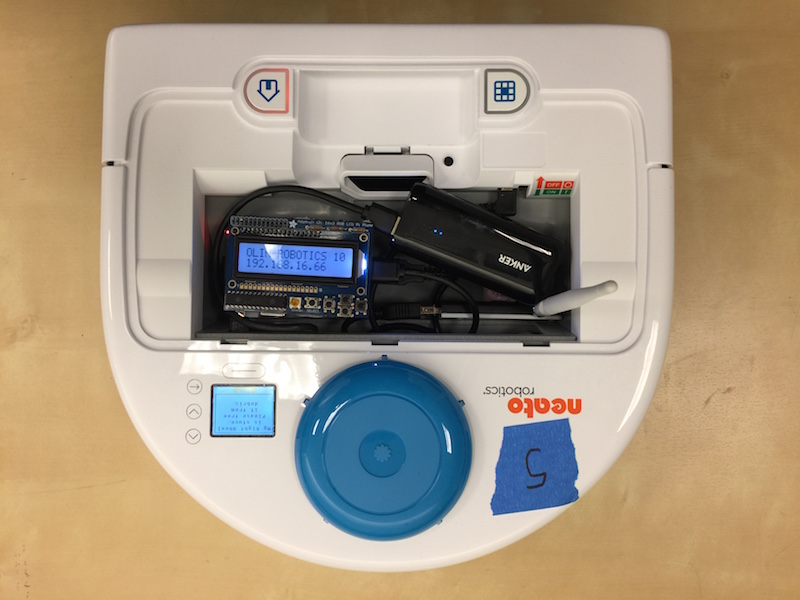
The Neato setup requires a Raspberry Pi to act as a remote control interface between the student laptop and the robot. We have created a setup based on a Raspberry Pi with an accompanying 16x2 LCD panel (for displaying debug information regarding Wifi).
Once you’ve purchased the relevant hardware and completed the setup of the LCD panel (it requires about 30 minutes of soldering), you are ready to go.
Configuring the Raspberry Pi Image
Starting with a MicroSD card with at least 8GB capacity, perform the following steps.
- Flash the SD card with the latest version of Raspberry Pi OS Lite (the lite version will make sure you don’t have a desktop environment installed). The Raspberry Pi Imager software makes doing this a breeze.
- Startup the Pi and go through the initial configuration. You’ll configure your keyboad and setup your login. To use our software unmodified, choose
pias your login. - Login to your raspberry pi and execute the following command. You’ll be prompted to enter your Wifi SSID and password.
$ source <(curl http://occam.olin.edu/install_pi)Operating Instructions
Once you’ve created the image, use one of the micro USB cables to connect the Neato to the Raspberry Pi. Use the other micro USB cable to connect the USB battery pack to the power input port of the the Pi. If you have a Raspberry Pi Cam module, you can connect that as well (currently, we dont’ support the new rev 3 camera). All other operating instructions are given in the student-facing guide on operating the robots.